Record Training Episodes
This is the data collection step. You drive the arm with an Xbox controller while the node records wrist-camera video, joint positions, and joint targets into a LeRobot dataset. That dataset is then used to fine-tune SmolVLA.
Terminal guide for this workflow: You will need three terminal windows open at the same time — one for the simulation (
docker compose up), one for the recorder (docker compose run --rm record), and one optionally for the camera preview.
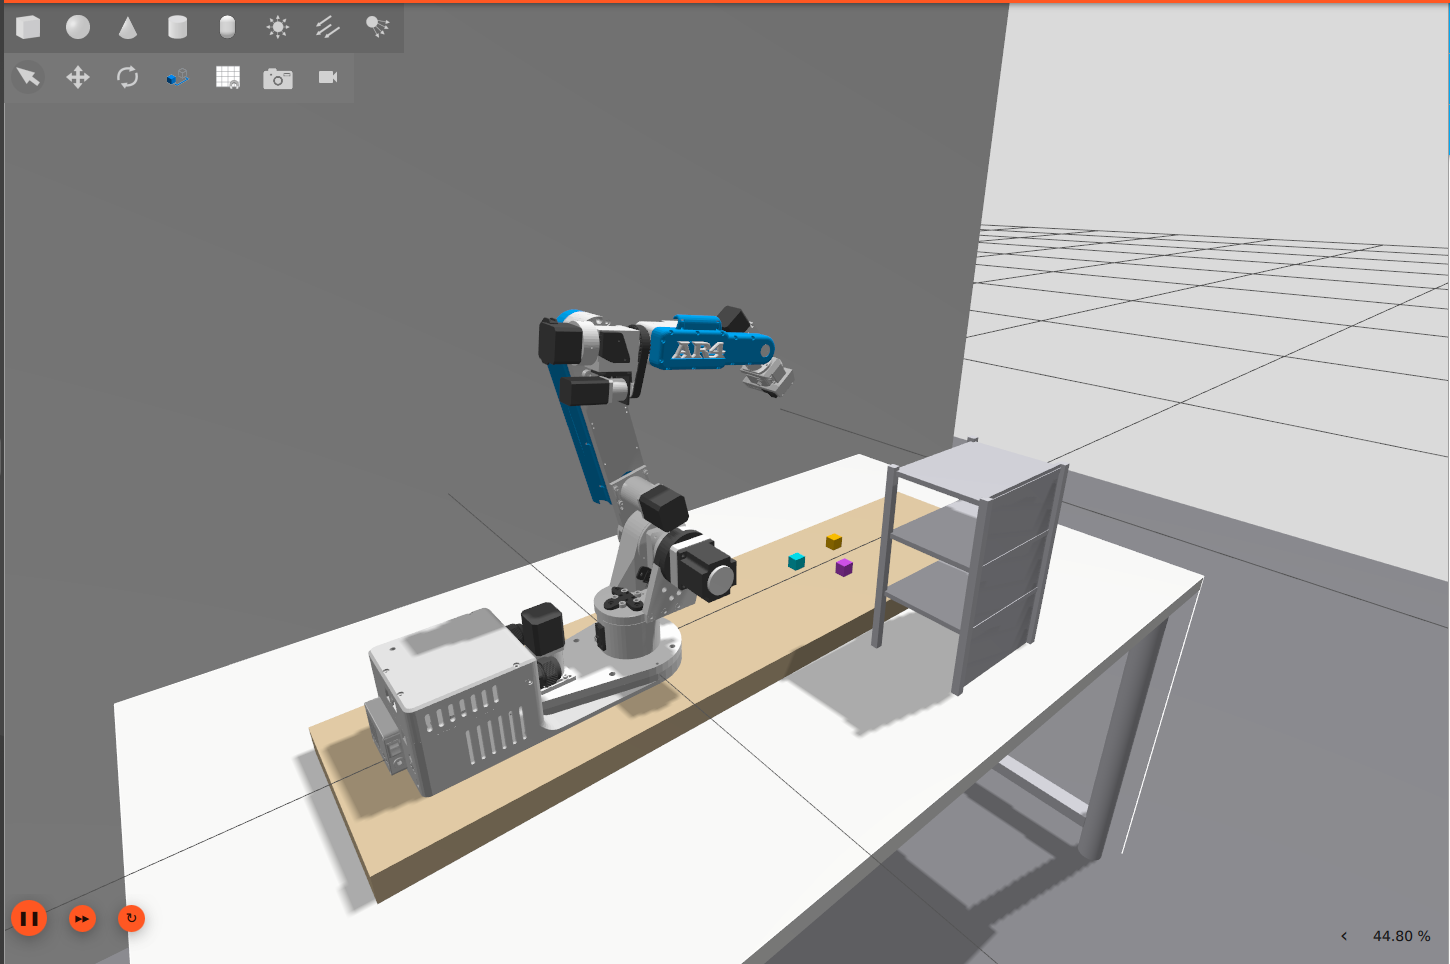
The simulation environment
The tabletop world places the AR4 in front of a three-tier shelf stocked with a teal cube, magenta cube, and yellow cube as pick-and-sort targets.
Step 1 — Start the simulation
Gazebo and RViz2 will open. Wait until you see this line in the terminal logs before continuing — it means the arm is ready:
This can take 30–60 seconds on first launch while the simulation fully loads.
Explore the environment first — before recording, open the Motion Planning panel in RViz2 and drag the orange interactive marker on the arm to plan and execute moves. This is a good way to get familiar with the robot's range of motion before you start collecting data.
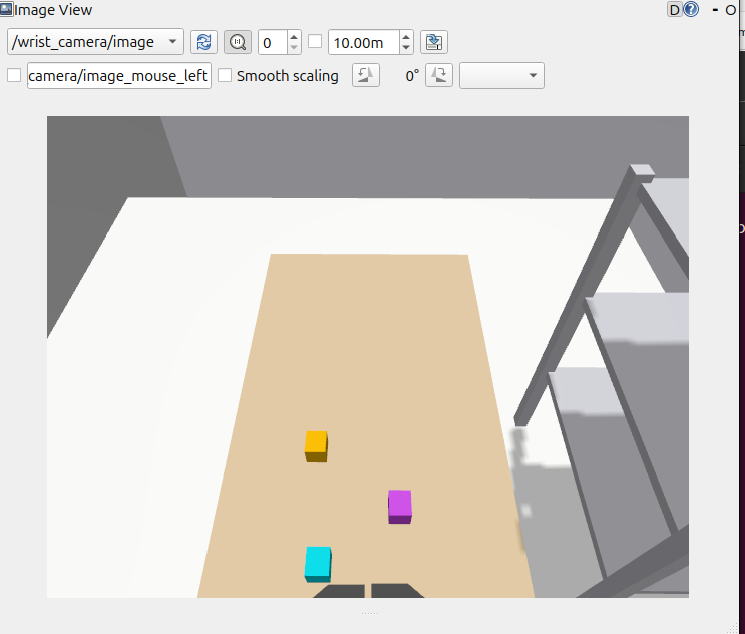
Wrist Camera View
The AR4 has an RGB camera mounted at the gripper that publishes to /wrist_camera/image (480×640, 30 Hz). This is the same feed that gets recorded into the dataset — check it before recording to verify framing and lighting.
Option A — rqt_image_view (quickest — run on your host machine, not inside Docker)
If you don't have it installed yet:
Then open a new terminal on your host (with ROS sourced) and run:
In the rqt window, open the topic dropdown at the top and select /wrist_camera/image.
Option B — Foxglove Studio (no ROS install needed)
Open app.foxglove.dev → Open connection → WebSocket → ws://localhost:8765, then add an image panel and select /wrist_camera/image.
Step 2 — Start the recorder (in a new terminal)
The container builds ar4_teleop and then moves the arm to the home position — you should see it move in Gazebo (and on real hardware). This confirms the recorder is connected to the simulation. Once the arm settles, the control map is printed. You are now ready to record.
Options
| Variable | Default | Description |
|---|---|---|
TASK | "place the teal cube on the top shelf" | Task description stored with every frame — used by SmolVLA at inference |
HF_USERNAME | local | Your HuggingFace username — dataset saves to ./data/datasets/<username>/ar4_pick_place/ |
MAX_EPISODE_DURATION | 60.0 | Auto-pause after this many seconds (0 = disabled) |
JOINT_JOG | false | true = map each axis directly to one joint instead of Cartesian twist |
Xbox Controller Reference
| Input | Action |
|---|---|
| Left stick X | Joint 1 — base rotation |
| Left stick Y | Joint 2 — shoulder |
| LT / RT | Joint 3 — elbow |
| Right stick X | Joint 4 — forearm rotation |
| Right stick Y | Joint 5 — wrist tilt |
| LB / RB | Joint 6 — wrist rotation |
| Hold A | Gripper open (release to close) |
| Y (controller or keyboard) | Save episode, start next |
| B / keyboard N | Discard episode, start next |
| Keyboard R | Arm the recorder (start capturing frames) |
| Keyboard H | Return arm to home position |
| Ctrl-C | Quit and finalize the dataset |
Tip — dominant-axis mode: Only the stronger axis on each stick is active at once, so diagonal inputs won't accidentally move two joints. Drive one direction at a time for clean demonstrations.
Tip — speed: The default speed scale is 0.35×. If the arm feels sluggish for repositioning, you can raise it by editing
--speed-scaleinar4_teleop/launch/record.launch.py.
How recording works under the hood
The gamepad drives the arm through MoveIt Servo using velocity commands — this feels smooth and natural. But what actually gets saved as the training label is the absolute joint position at each timestep, not the velocity.
At inference SmolVLA predicts those same absolute positions and sends them directly to the joint controller, bypassing Servo. This is important because position targets are deterministic: the same target always produces the same pose, eliminating the drift that accumulates with velocity-based control over long episodes.
What gets recorded?
Each frame contains:
observation.images.wrist_camera— 480×640 RGB frame from the gripper-mounted cameraobservation.state— current joint positions + gripper state (7 values)action— absolute joint position targets for the arm + gripper (7 values) — this is what SmolVLA learns to predict
Where is my data?
Datasets save to ./data/datasets/ar4_pick_place/ on the host (bind-mounted as /data inside the container). The folder is created automatically on the first saved episode. Each episode is stored as a Parquet file + MP4 video in LeRobot v3 format.